

Key Takeaways
- Declutter before cleaning so surfaces, corners, and floors are accessible.
- Use a room-by-room checklist instead of trying to clean everything at once.
- Give extra attention to high-touch surfaces, soft furnishings, vents, appliance gaps, and baseboards.
- Read labels, ventilate rooms, and never mix household cleaning products.
- Short daily resets help preserve the results of a deeper seasonal clean.
Why a Deep-Clean Reset Helps
Regular cleaning handles visible messes such as dishes, crumbs, and laundry. Deep cleaning reaches the dust behind furniture, residue around fixtures, grease near cooking areas, and cluttered storage spaces that make routine cleaning harder. Homes with pets, children, allergies, or frequent visitors may need these detailed tasks more often. For households that want help with a larger seasonal project, Buncombe County cleaning services may be useful when time, mobility, or the size of the job makes a DIY reset unrealistic.
Before You Start: Build a Practical Cleaning Plan
Clear Clutter Before Scrubbing
Remove dishes, laundry, papers, toys, and items that belong elsewhere. Sort what remains into keep, donate, and discard groups. Cleaning around clutter leaves surfaces partially untouched and turns a simple task into a constant cycle of moving items back and forth.
Gather the Right Supplies
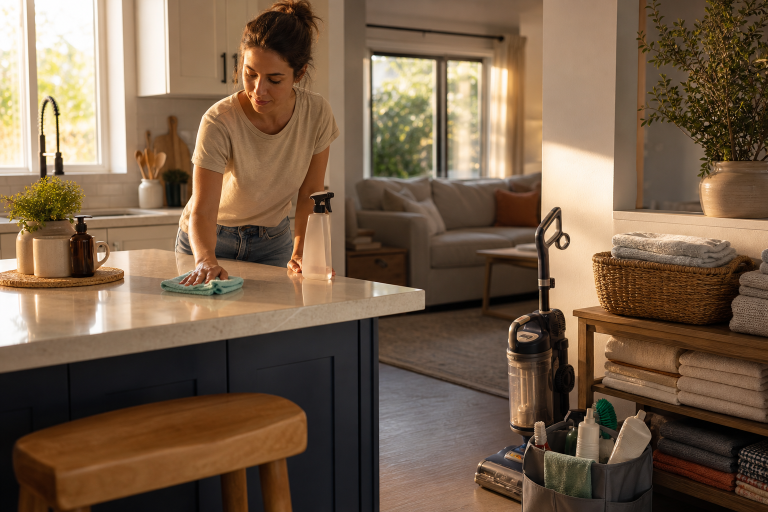
Keep microfiber cloths, gloves, sponges, trash bags, a small bucket, scrub brushes, and a vacuum with crevice and upholstery tools nearby. Use a mop suited to your floor type, and choose products that are appropriate for glass, stone, wood, metal, and general surfaces.
Follow a Smart Cleaning Order
- Remove dry dust and debris first.
- Work from ceiling-level surfaces down to floors.
- Clean cleaner areas before dirtier ones.
- Finish each room by vacuuming or washing the floor.
- Allow damp surfaces, fabrics, and mats to dry completely.
Room-by-Room Deep-Clean Checklist
Kitchen
Empty and wipe cabinet shelves and drawers, then clean handles, control panels, appliance seals, and the wall behind the sink. Degrease the stovetop, backsplash, and the exterior of the range hood. Follow the manufacturer's instructions for the oven and microwave, move small appliances to remove crumbs underneath, and finish by cleaning the floor edges and corners.
Bathrooms
Remove soap film and mineral buildup from fixtures, tile, and shower doors. Wipe cabinet fronts, drawer pulls, mirrors, vents, fan covers, switches, and handles. Clean grout only with a product suited to the surface, wash bath mats and shower curtains when their care labels allow, and inspect damp spots for leaks or early signs of mold.
Bedrooms and Living Areas
Wash bedding, vacuum or rotate the mattress when appropriate, and dust headboards, lamps, blinds, shelves, curtain rods, fans, and vents. Vacuum under beds, behind lightweight furniture, and along floor edges. In living rooms, use upholstery tools on sofas and chairs, including cushion seams and hidden gaps. Wipe remotes, tables, switches, and door handles.
Entryways, Hallways, and Utility Areas
Clean doors, trim, baseboards, doormats, shoe storage, and frequently handled surfaces. In the laundry area, wipe shelves, machine tops, and detergent spills. Check behind appliances for lint, dust, and moisture, then clear walkways to keep these areas safer and easier to maintain.
Cleaning for Better Indoor Comfort
Dust can collect in rugs, upholstered furniture, drapes, vents, and other soft surfaces. Regular vacuuming, washable fabric care, and fully drying damp areas can help a home feel fresher. The EPA notes that indoor comfort is also affected by ventilation, humidity, and pollutant sources, so improving indoor air quality involves more than surface cleaning alone. Cleaning does not replace medical care for allergies or respiratory conditions.
Safer Product Use in 2026
Read every product label, use the recommended dilution, and test unfamiliar products in a hidden spot first. Open windows or run exhaust fans when fumes are strong. Never mix bleach with ammonia, acids, or other cleaners. The CDC recommends that households clean surfaces before sanitizing or disinfecting them, and notes that disinfection is generally most relevant when someone is sick or at higher risk of serious illness.
How to Make a Deep Clean Less Overwhelming
- Choose one room, floor, or defined zone.
- Set a 30- to 45-minute timer.
- Take a short break before fatigue leads to rushed work.
- Use a written checklist rather than relying on memory.
- Assign manageable tasks to other household members.
- Stop when the planned zone is complete.
DIY or Professional Help?
Most routine deep-cleaning tasks are manageable with basic supplies and a sensible schedule. Outside help can be worth considering after renovations, before or after a move, following a long period without cleaning, or when heavy lifting, extensive buildup, or a large home makes the work impractical. Compare written task lists, insurance information, product policies, and reviews before hiring anyone.
When Should a Home Be Deep Cleaned?
- Daily: Dishes, counters, clutter, and high-traffic messes.
- Weekly: Bathrooms, floors, routine dusting, laundry, and kitchen surfaces.
- Monthly: Baseboards, vents, appliance details, and storage areas.
- Seasonally: A full room-by-room reset, decluttering session, and fabric refresh.
Common Deep-Cleaning Mistakes
- Starting before clutter is removed.
- Using one cleaner on every material.
- Cleaning floors before dusting high surfaces.
- Ignoring required contact time for disinfectants.
- Forgetting switches, handles, remotes, and controls.
- Trying to finish the entire home in one exhausting session.
Frequently Asked Questions
How Often Should a Home Be Deep Cleaned?
There is no single schedule for every household. Seasonal resets combined with smaller monthly projects work well for many homes.
What Room Should Be Cleaned First?
Start with the kitchen, bathroom, or most-used room. Visible progress early in the process makes it easier to continue.
How Long Does a Full Deep Clean Take?
Timing depends on the home's size, condition, clutter level, and the detail required. Dividing the work across several sessions is often the most sustainable choice.
Conclusion
A successful deep-clean reset is built on a clear plan, safe product use, and realistic expectations. Start with one room, complete the tasks that matter most, and avoid trying to tackle the entire home at once. Focus on high-traffic areas, neglected surfaces, clutter, dust, and buildup that regular cleaning may miss. Use the right products and tools for each material, and allow enough time for surfaces to dry properly. Once the deep clean is complete, use small daily and weekly habits to maintain the results. This approach can make seasonal cleaning feel more manageable while helping your home stay fresher, more organized, and easier to maintain long after the reset is finished.

FOLLOW ME ON SOCIAL MEDIA


No comments:
Post a Comment
I love reading and responding to comments but in order to get my reply you must ensure you are NOT a no-reply blogger. If you are, here are some quick steps to change that!
1. Go to the home page of your Blogger account.
2. Select the drop down beside your name on the top right corner and choose Blogger Profile.
3. Select Edit Profile at the top right.
4. Select the Show My Email Address box.
5. Hit Save Profile.