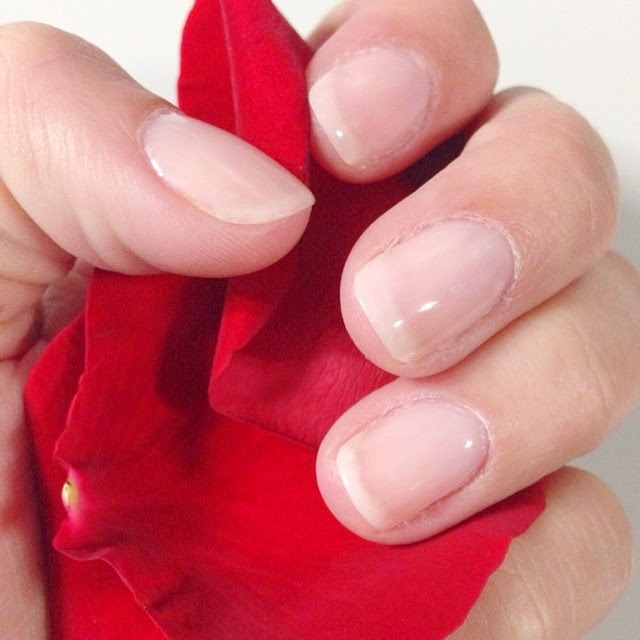
I recently purchased the Sally Hansen Gel Manicure Kit compelte with UV Light.
It costs $69.99 and comes with:
UV Light
Base Coat, Top Coat, and Color
Emory Board
Cuticle Pusher
Alcohol Wipes
Acetone Remover Solution
The first time I did it, I learned a few lessons so I figured I would share them with you.
Old Nails:
The second time I used the kit and utilized my own tips and advice, it was well worth it and my manicure is now identical to the ones I get in the salon!
New Nails:
I'll go over the basic steps and add my tips in along the way.
Step 1:
Step 1 asks you to make sure you have clean and dry nails so you can clean them with an alcohol wipe before applying the base coat.
My Advice:
-Push your cuticles way back.
-Make sure you buff your nail so there is no shine left.
-When you swipe an alcohol wipe over your nails, make sure to get it all the way to the edge of the nail so that the gel sticks
Step 2-4:
Apply a thin coat of Base Polish and hold under the light for 30 seconds. Repeat same with polish (2 coats) and top coat.
My Advice for all of these steps:
-The UV light automatically shuts off after 30 seconds so don't worry about timing yourself.
-Seriously apply a THIN COAT
- After each nail's coat, run the cuticle pusher or another fingernail around the parts of your nail that touch the cuticle and your skin. This is what I see them do in the salon too. It separates the polish so that when your nail grows out it won't lift as easily.
-Make sure there's no polish on your skin or it will burn!
Overall, this is definitely worth the money. To save money int he future though, I'm not going to buy the wipe refills. Isoprophyl Alcohol on a paper towel will do the same trick! I've even tried it.
To remove the nails, follow the instructions exactly as they read. It basically involves you soaking a piece of cotton in acetone, and wrapping foil around each fingertip until the gel is soft and can be pushed off of your nail.


You can also use rubbing alcohol. That what I do instead of buying the wipes.
ReplyDelete