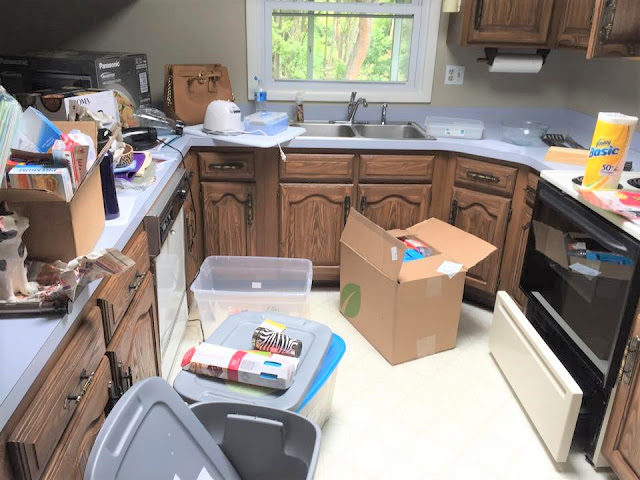
Your kitchen is likely the most chaotic room in the house. It's the central hub where everyone gathers to chat, it's usually the first place we go when we get home, and it's the most common place for clutter. This is because we put all kinds of things in there, not just kitchen stuff. Some people have mail and papers, others have books stored on shelves. Seriously, I've seen it all.
Since it's used so often, it sure would be nice if it didn't feel so messy and cluttered all the time, right?
This step-by-step guide to declutter your kitchen will lay out everything you need to do so you can get it done in a day or a weekend!
This is done in 2 parts. The first part is non-food items. The second part is food items.
Up first is non-food items.
Step 1 | Empty ALL The Things
Yes, you heard me! Empty every drawer of silverware, cooking utensils, dishes, small appliances, dish towels, and junk drawers. It needs to be all over the place so you can see what you have, start to sort, and then decide what will go where. You can't decide what will go in a certain drawer if there's already something else in it so that's why this is a VERY important step.
Emptying everything also ensures you will see this job through to the end because you will NEED your space back! If you have kitchen items in boxes and storage, bring 'em out!
Step 2 | Sort and Group
Now you'll want to begin grouping items together with something they have in common. Maybe they are all special occasion cooking utensils or serving utensils. Or maybe you have baking appliances in one group and another group for plastic/paper plates and cups. Grouping items as you sort through them makes you see what items you have an excessive amount of.
Step 3 | Let The Purge Begin
So now you will see how much you have of every kitchen related item in each category. If you need a couple of the same item (I get it because I multitask when I bake and cook), then that's fine but if there really is an excessive amount of something like a soup ladle, you need to pare down.
When it comes to purging items you want to get rid of the following:
Old items with excessive wear
Broken items
Items you'll never use (or only used once on a unique occasion)
Excessive duplicates
You can trash anything broken and donate the stuff that's still good.
Step 4 | Give Each Group of Items a Home
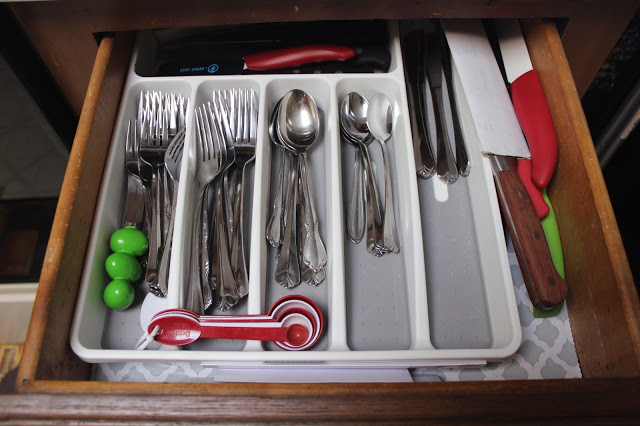
Some people organize their kitchen by putting items wherever they fit. Unfortunately, that's what leads to the chaos of zooming around in the middle of preparing a meal trying to find the item you need. For this reason, keep LIKE items together.
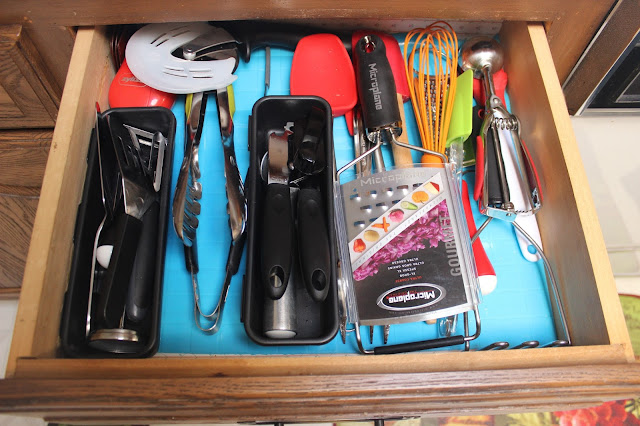
|| All cooking utensils should go in the same drawer, keeping the most commonly used on top of the counter in a utensil holder.
|| Small appliances can go in the same space or can be split and put with items that are in the same category of the food they prepare.
You can get creative with organizing your kitchen items like I do or you can just put them back in a way that works for you.
Now it's time for food items.
Step 1 | Empty It All
First you want to start with your pantry and cupboards and empty any boxed, bagged, or processed foods that don't go in the refrigerator or freezer.
Step 2 | Sort and Purge
Sort through everything and get rid of anything expired, anything you probably won't consume, or anything that's opened (and old) or leaky. Throw those items out. You want to be left with items you will be using in a reasonable amount of time.
Step 3 | Meal Plan with Excess Items
You may find you have an excessive amount of food items and you may not have the room for all of them. This is when you want to meal plan for the next few weeks with those items. And moving forward, you should only buy new items that you have included in your meal plans moving forward. It's nice to have a random dinner item for nights you don't know what else to make but if you get things on an impulse buy quite often at the grocery store, you'll start accumulating more than you'll consume.
Step 4 | Neatly Put Everything Away
Now you get to put things away in a neat and tidy manner that works for you and your family. You may want to run out to the store to get plastic bins or other organizing items.
Now repeat everything for the cold and wet foods.
If you dedicate a small amount of time on a weekend to declutter your kitchen, you'll love the results and you can create a better organizing system so that you keep up with it and you don't have to declutter again!
What's your biggest struggle with kitchen clutter?
PIN THIS POST


I did this a few month ago to my kitchen.
ReplyDeletehttp://www.amysfashionblog.com/blog-home